
I always use ASP.NET Core to host my Aurelia apps, just in case I should need any server side functionality. In reality I often end up separating any serious API’s or back-end functionality in to other Web Apps or other Function Apps.
But what if there’s no need for any kind of back-end functionality and you still want to host your site on Azure? Then you have the option to host your site as a static site in an Azure Storage Account. And compared to hosting a site in Web Apps, it’s pretty cheap!
Creating a Storage Account
There’s several ways to create an Azure Storage account. Here’s how to can do it from the Azure portal.
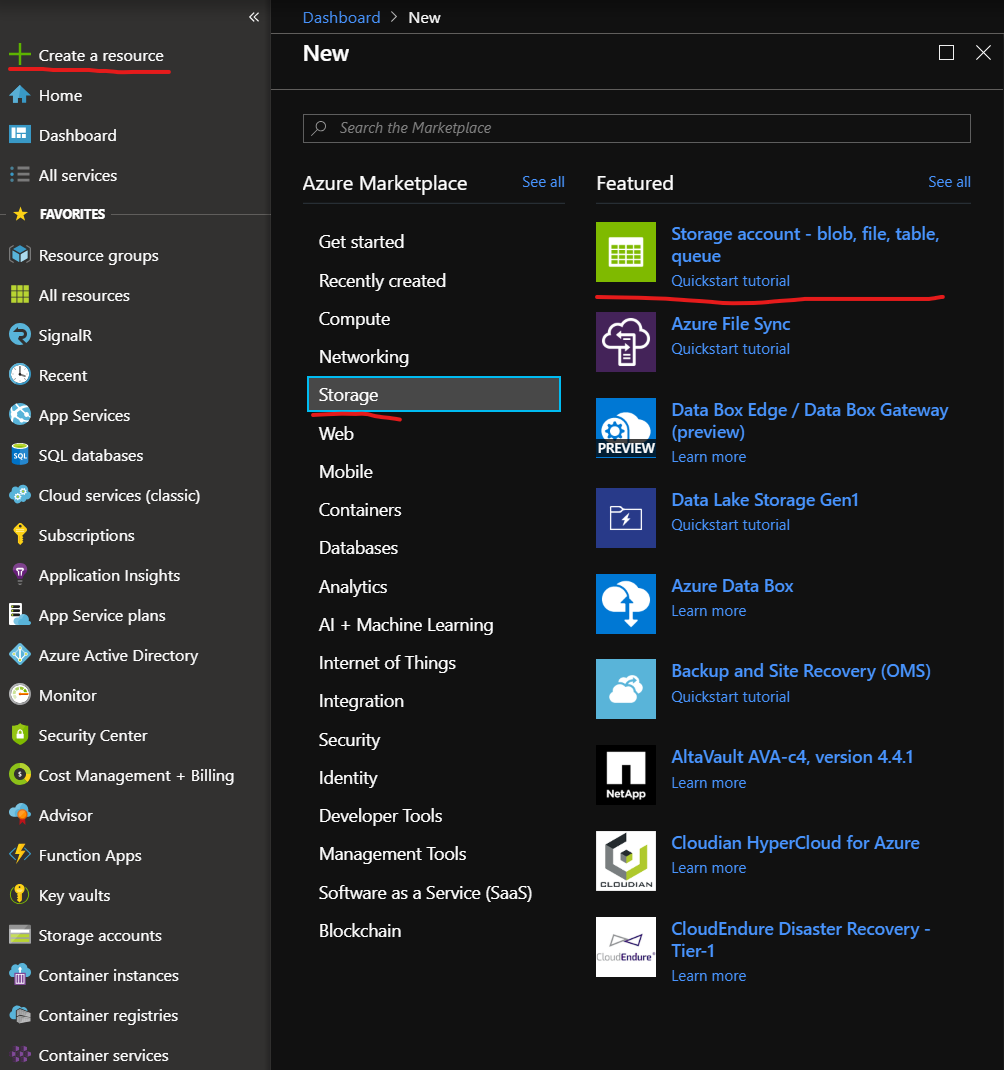
Select “Create a resource” click “Storage” and select “Storage account”.
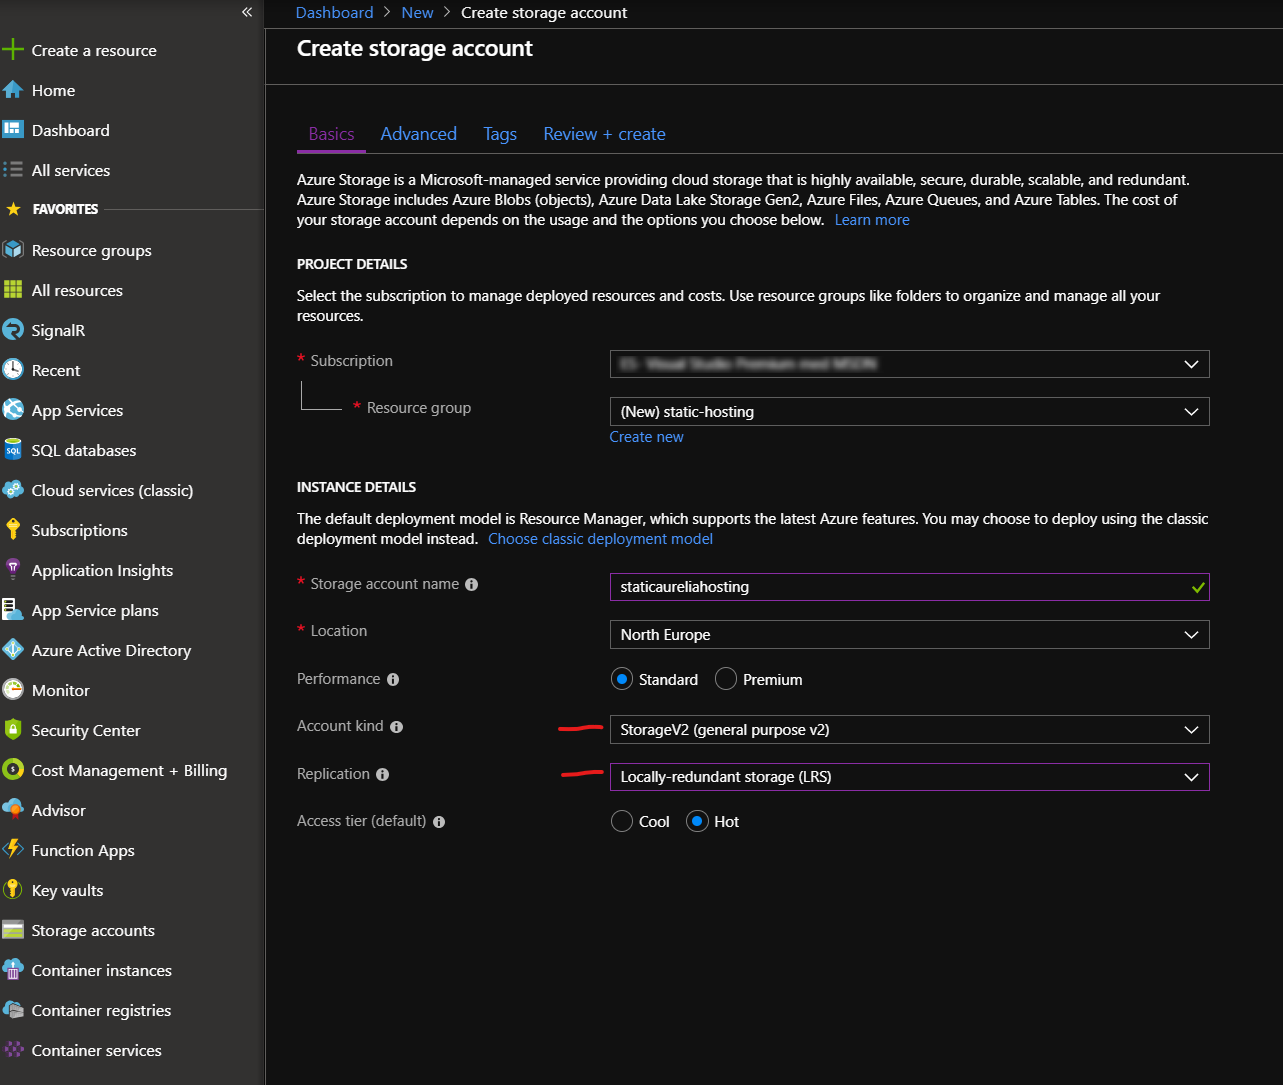
Select the subscription and Resource group (or create a new one).
- Make sure to set Account kind as StorageV2!
- For testing it’s good to set Replication to LRS, as that’s the cheapest option.
Click the “Review + create” button at the button, then press the “Create” button on the final page.
Depending on load, the new Storage account will be created in about 30 seconds or so. After the deployment is finished, press “Go to resource” to open the newly created Storage account.

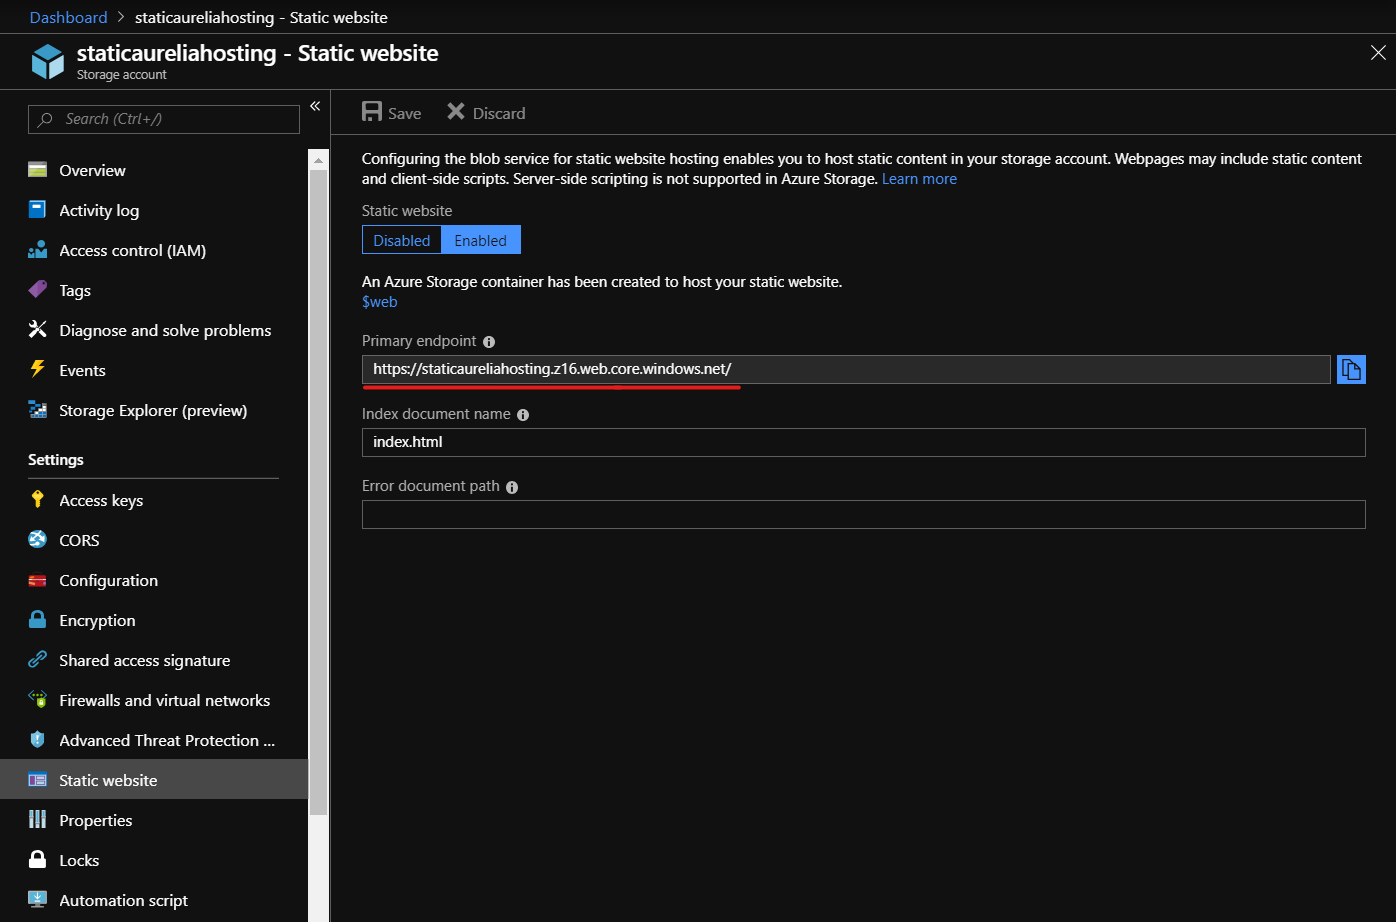
Enable Static Website Hosting
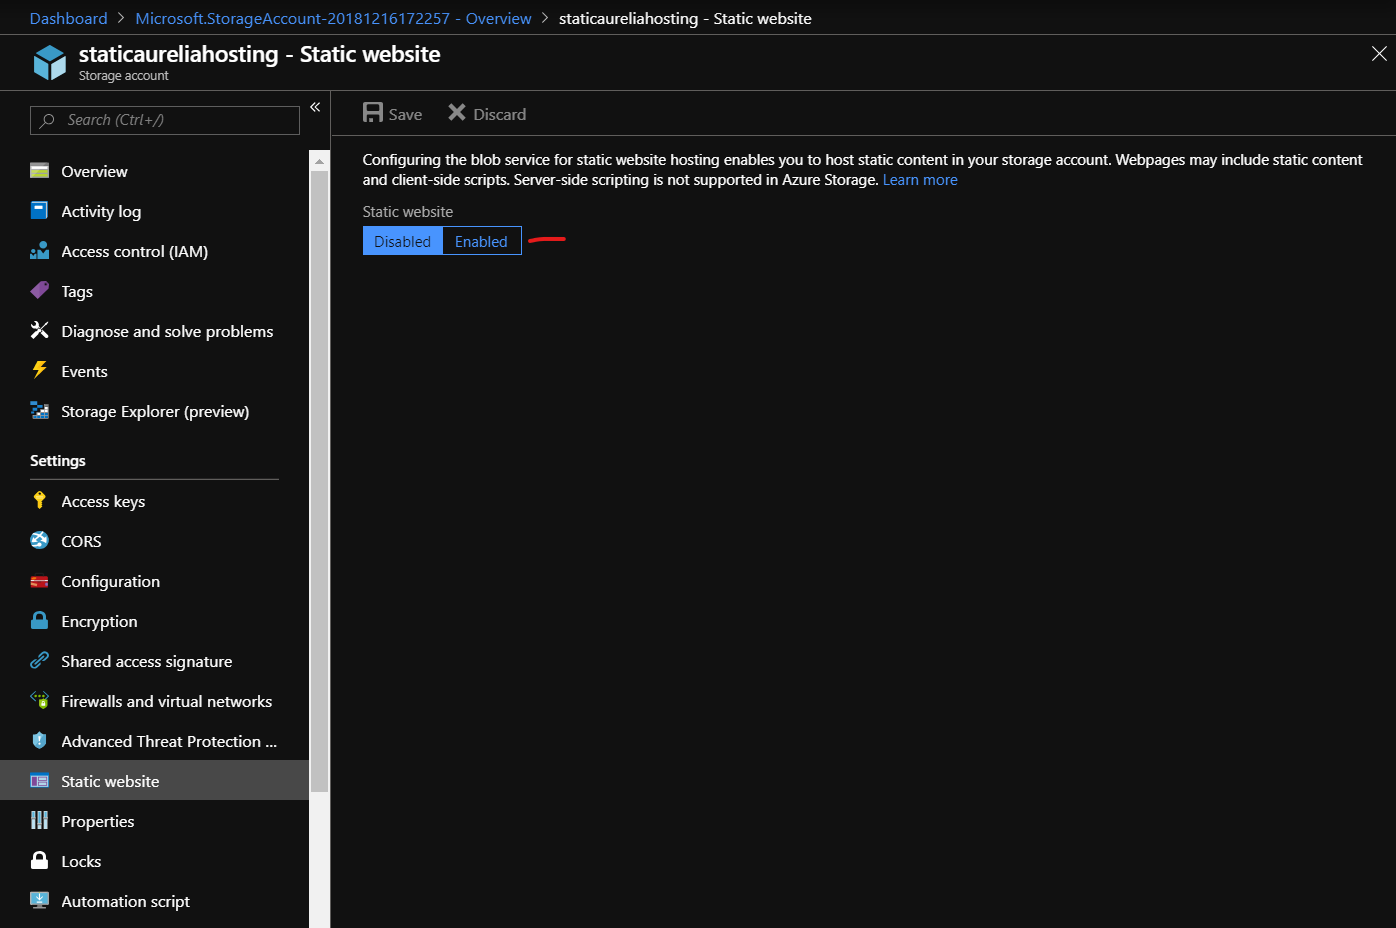
Click “Static website” and choose “Enable”.

A Small Aurelia App
For testing I just made a new app with the Aurelia CLI. I then modified the app.html file slightly and added a image as well.
The files and folders needed to move to the Storage account for my app:
- index.html
- favicon.ico
- scripts/
- app-bundle.js
- app-bundle.js.map
- vendor-bundle.js
- img/
- aurelia-icon-512×512.png
Deploying the Aurelia App
There are quite a few ways to deploy an Aurelia app to the Storage account. One way is through the portal, another via the Azure CLI or maybe using the Visual Studio Code plugin or the Azure Storage Explorer app. Preferable for any kind of production code is to setup a CI/CD pipeline with Azure DevOps. But for this example, let’s use the Azure portal since we already have it open.
Open the Storage Explorer in the portal and expand the Blob Containers. Here we can see a new container created for our app, called $web.

Press the Upload button in the upper toolbar and select the files belonging to the Aurelia app. For those files belonging to folders, click Advanced and enter the directory name before selecting the files that needs to be uploaded.
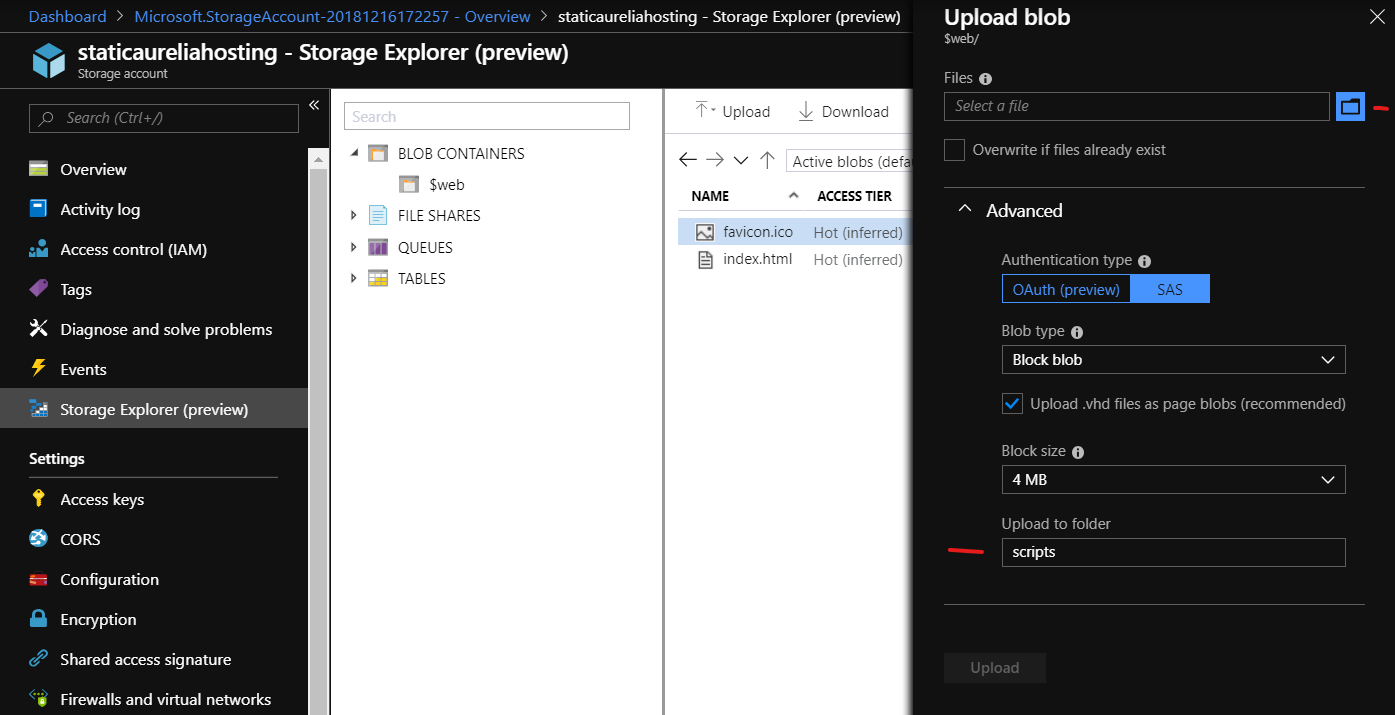
OBS! If you get a validation error saying “Failed to validate filenames”, you can check the checkbox for Overwrite if files already exist.
Testing Our New Website
The endpoint address to our blob hosted web page is then found under Settings > Static website.
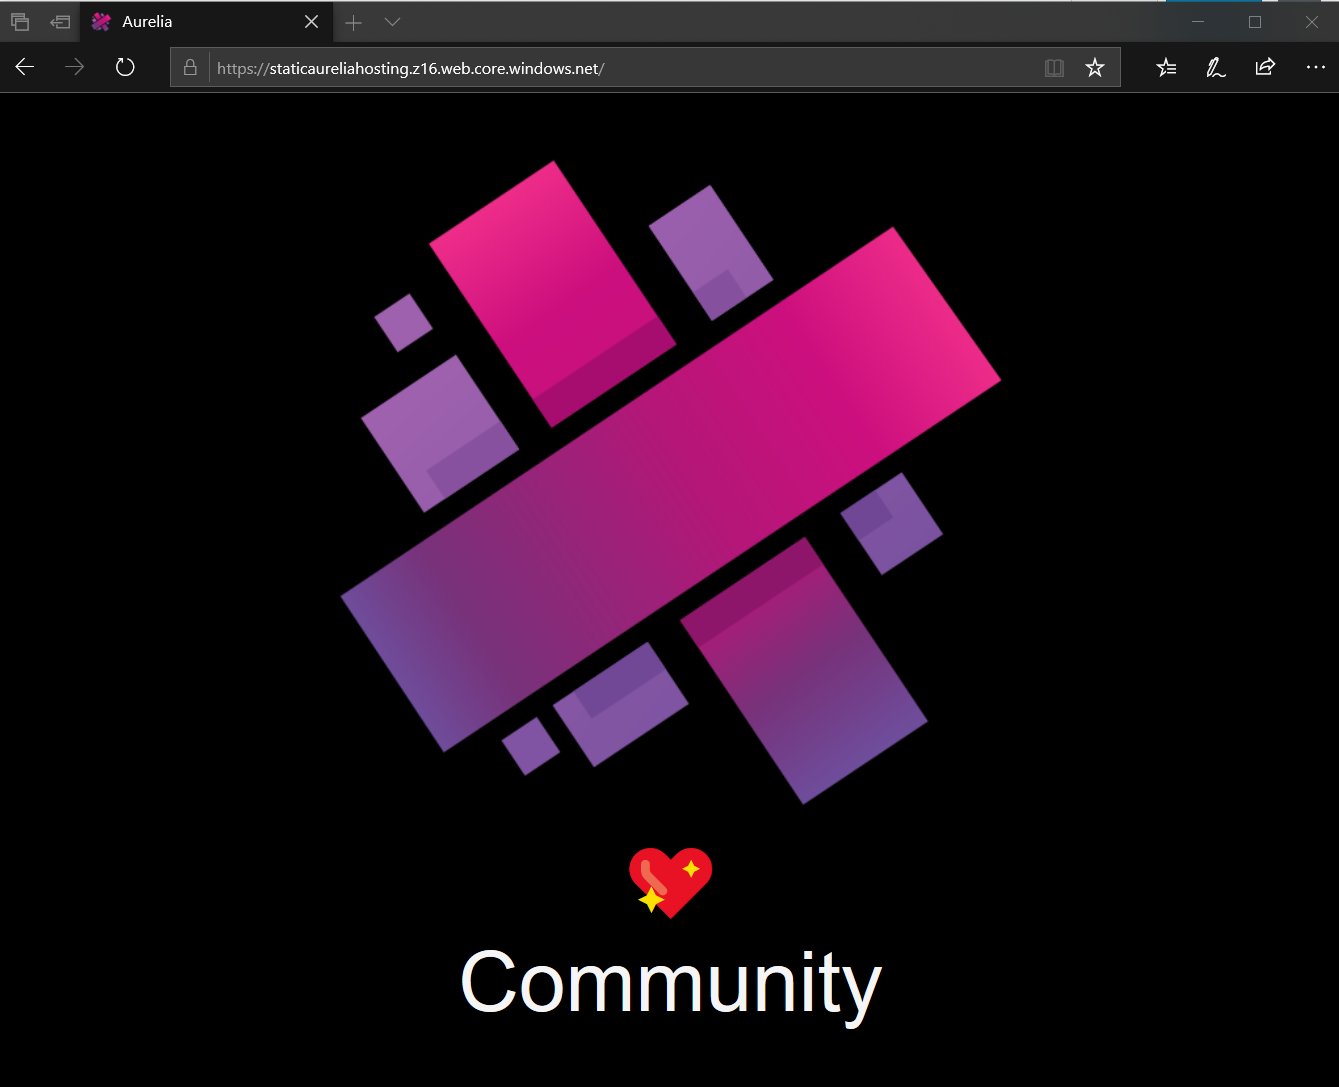
And testing it in a browser renders the finished result 😃
More
For a production site you would of course want to use a custom domain name, use a cert etc. Read more about using a custom domain name here. Azure Storage is not currently supporting HTTPS to custom domains, but it’s possible to use Azure CDN for that, read about how to set that up here.
Happy coding! 😁
Pingback: Dew Drop - December 17, 2018 (#2861) - Morning Dew
teşekkürler bu faydalı bilgileriniz için.
Rica ederim!
Pingback: Azure DevOps Pipeline for Static Aurelia Apps - mobilemancer
Pingback: Faster, better, cheaper, greener - AureliaWeekly 2 - mobilemancer
Pingback: 2incidents