Sponsors


Setting Up a React Environment
In the last article, we learned about ref which helps us communicate with DOM elements when used in React components. At this stage, if you’ve gone through all the articles in the series and practiced a bit, you should be pretty familiar with how we create components and applications. As such, I think the time has come to build a real React environment.
Until now, we’ve used React and Babel Scripts. React ran the scripts and Babel happily parsed the JSX. Everything looked great except… that’s fine for learning but won’t do for production. The environment we used until now is great for learning and experimenting, but it won’t work well if we want to build a real program.
To do things right, we’ll need to do a build and we’ll need to do some real transpiling. Then we’ll take the JavaScript we get back and run various processes on it. We might need routing, lazy load, compression, aggregation. We’ll use Node.js to carry out the build. You won’t need to have a deep understanding of Node—we’ll just be using it for the build. In this article, I’ll explain how to install an environment that can support a site based on React from the ground up. No more of this kinda thing:
<script src='https://unpkg.com/react@16/umd/react.development.js'></script>
<script src='https://unpkg.com/react-dom@16/umd/react-dom.development.js'></script>
<script src='https://unpkg.com/babel-standalone@6.15.0/babel.min.js'></script>
So how do we start? First, we need to clear a few things up about the build. Until now, we more or less wrote JSX. Browsers don’t know how to handle JSX so we’ve been using Babel to convert the JSX to something a browser can process. That was when we used this line:
<script src='https://unpkg.com/babel-standalone@6.15.0/babel.min.js'></script>We made the folder called babel perform the conversion from JSX to JavaScript code that the browser can handle. This process is called transpiling, which by the way, is pretty expensive when it comes to time and resources. When we were learning about components, it didn’t matter if we did that at runtime, but in a production environment on a real project, we would get some pretty lousy results if we called Babel like that. So what we’ll do of course is take care of it beforehand. And on the way, we can also do some syntax checking, minifying, and aggregation.
This process is what we call the build and we’ll do it using Node.js. If you’re thinking that this sounds complicated, don’t worry—it’s easier than you might think. First off, install Node.js which is easy whether you’re on Mac, Linux, or Windows.
Once you’ve got Node installed, open the command line or console and run node -v. If you see the version number then you’re ready to start working. Go to the folder with your documents or whatever folder is comfortable to work from and type in the interface:
npx create-react-app my-app
This will make my-app the name of the React application, but you can of course use any name. Directly after running this command, the application will install itself using Node. Yes, that’s right, you don’t really need to know anything about Node to use it here. This installation might take a while, but it will eventually finish. You can fire it up on your local machine using the following command:
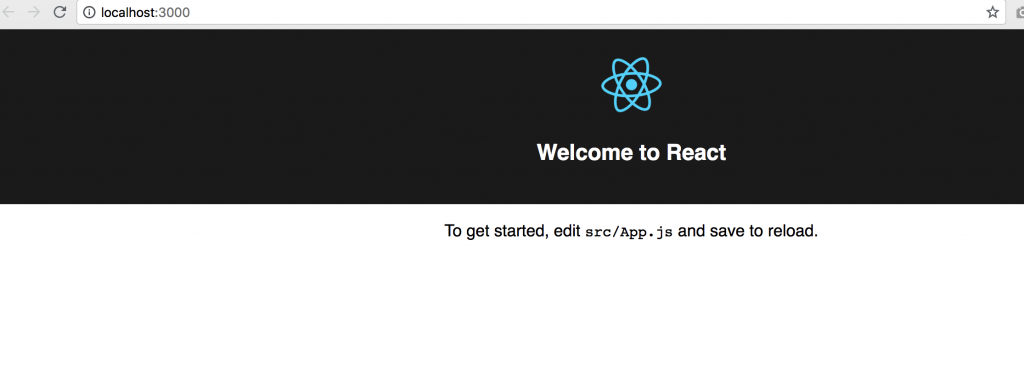
npm start
This will immediately open our React application! Yep, right on localhost:3000
 Behind this application, there’s quite a bit of technology: along with Node.js you’ve got, Webpack, Babel, and of course all the React folders. So at this point, the only thing left for us to do is to start coding. It’s really that quick and easy.
Now that we’re playing in the big leagues, we’ll need to write the syntax of our components a bit different. Remember our React components? Let’s have a look at how they work. First we’ll make a components folder in the src directory. Inside of it, we’ll make another folder called MyComponent and inside that, we’ll create a file called MyComponent.jsx. Here’s what’s in the file:
import React from 'react';


class MyComponent extends React.Component {
 render() {
     return <p>Hello world!</p>
 }
}


export default MyComponent;
There are two essential changes here that we should have a closer look at. The first is import React from 'react'; which is syntax from web component (the components that helps us ‘import’ what we need). In this case, what we’re importing is React. If we would have needed to use another component, we would need to import it the same way.
The second is the export default MyComponent; which exports the component. That’s about it.
In order to use the component, go to app.js and make sure that we’re importing it.
import MyComponent from './components/MyComponent/MyComponent.jsx';
<MyComponent/>
And you thought it would be difficult.
From this point foreward, we’re working on a real React application. There are a million things we didn’t cover in create react app which comes with tons of good stuff like webapp, SASS right out of the box, static code analysis, and much more. But I’ll try to focus on React here and not on the infrastructure.
In the next article we’ll have a look at routing, debugging, and a few other important subjects.
| Previous Article: React Components + the DOM | Next article: React Routing |
About the author: Ran Bar-Zik is an experienced web developer whose personal blog, Internet Israel, features articles and guides on Node.js, MongoDB, Git, SASS, jQuery, HTML 5, MySQL, and more. Translation of the original article by Aaron Raizen.
Recent Stories


Top DiscoverSDK Experts


Featured Products


Compare Products
Select up to three two products to compare by clicking on the compare icon () of each product.
{{compareToolModel.Error}}
{{CommentsModel.TotalCount}} Comments
Your Comment