![[ERR!]](https://pbs.twimg.com/profile_images/925033182533181442/jjUihWW1_normal.jpg)

As developers, we aim to use existing libraries in order to avoid reinventing the wheel. Unfortunately, Angular is still relatively young, and we cannot find an Angular component for everything we need.
The purpose of this article is to demonstrate use cases in which Angular components can be connected with vanilla JS libraries.
#Example One
For this example, we will use a 🆒 library called Sweet Alert.
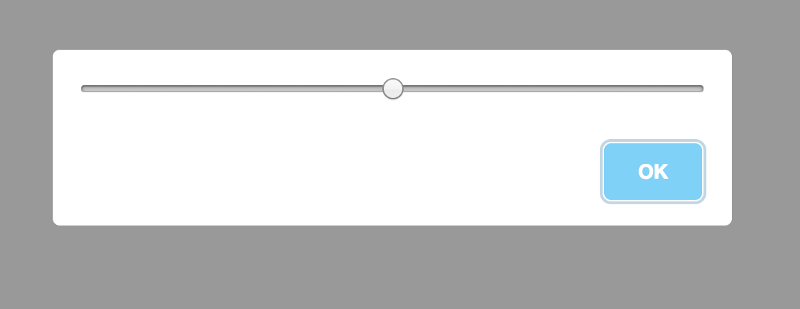
SweetAlert makes popup messages easy and pretty
One of the useful options that we can pass to the library is the contentoption, which is a DOM element that will be rendered inside the modal, for example:
let slider = document.createElement("input");
slider.type = "range";
swal({
content: slider
});
 Sweet Alert Example
We can now take advantage of this and pass an Angular component as content. For this to work, we need to create a component dynamically. We create a simple component that can be passed to Sweet Alert.
@Component({
  template: `
    <button (click)="log()">{{text}}</button>
  `
})
export class CustomComponent {
@Input() text = 'Click me';
log() {
console.log('From Custom Component!!');
}
}
The next thing we need to do is to create the component.
import { Component, ComponentFactoryResolver, Injector } from '@angular/core';
import { CustomComponent } from './custom/custom.component';
import swal from 'sweetalert';
@Component({
...
})
export class AppComponent {
constructor( private _resolver: ComponentFactoryResolver,
private _injector : Injector ) {
}
ngOnInit() {
const factory = this._resolver.resolveComponentFactory(CustomComponent);
const component = factory.create(this._injector);
<font color="#9c00ff">swal</font>({
content: component.<font color="#0000ff">location</font>.nativeElement
}).<font color="#9c00ff">then</font>(() <font color="#ff0000">=></font> {
component.<font color="#9c00ff">destroy</font>();
});
}
}
After we have created the component, we obtain a reference to the native DOM element, which is passed to the Sweet Alert content option.
In addition, of course, we can pass Input() if necessary.
const factory = this._resolver.resolveComponentFactory(CustomComponent);
const component = factory.create(this._injector);
component.instance.text = 'Custom text';
component.changeDetectorRef.detectChanges();
https://stackblitz.com/edit/angular-sweetalert
#Example Two
For this example, we will use a library called highcharts.
Many times we need to customize the chart tooltip with our markup. Various libraries like highcharts give us the option to pass an HTML string that will be rendered inside the tooltip.
Let’s create an Angular component and pass it to the library.
@Component({
  template: `
    <ul>
      <li *ngFor="let point of data">
        <b>{{point.series.name}}</b>:
        <span [ngStyle]="point.y < 40 && { color: 'red' }">{{point.y}}</span>
      </li>
    </ul>
  `
})
export class PointsComponent {
  @Input() data;
}
We created a simple component that gets the data as Input() and displays it in a list. Now, let’s see how we can use it.
@Component({
  template: `
    <div id="container"></div>
  `
})
export class AppComponent {
  private _component: ComponentRef<PointsComponent>;
constructor(private _resolver: ComponentFactoryResolver, private _injector: Injector) {}
ngOnInit() {
const factory = this._resolver.resolveComponentFactory(PointsComponent);
this._component = factory.create(this._injector);
}
ngAfterViewInit() {
const that = this;
Highcharts.chart('container', {
//....chart options
tooltip: {
formatter: function() {
that._component.instance.data = this.points;
that._component.changeDetectorRef.detectChanges();
const element = that._component.location.nativeElement;
return element.innerHTML;
},
useHTML: true
},
});
}
}
First, we create the component once inside the ngOnInit hook. Inside the formatter callback, we have access to the chart points which pass to our component as Input().
Next, we perform a change detection and returning the innerHTML that will be rendered inside the tooltip element.

https://stackblitz.com/edit/angular-qs6qpm
